Here's what's happening....
You are here as a Graphic Designer. In this class you will be thinking, creating, exploring and experimenting, and reflecting like a designer. Everything we do in this class will be modelled after graphic design as a career BUT, these skills are ones that are transferable to ANY career. So whether or not you plan on being a Graphic Designer you will gain knowledge, skills, and attitudes on how to deal with LIFE.
CREATIVITY. TROUBLESHOOTING. PROBLEM-SOLVING. COMPUTER LITERACY
CREATIVITY. TROUBLESHOOTING. PROBLEM-SOLVING. COMPUTER LITERACY
Creating a Website
WEEBLY WEBSITE PORTFOLIOS
Weebly is an online software that allows you to create your own websites in an easy and user-friendly way. You can personalize how you want your website to look and by dragging and dropping different icons you can add things like text, photos and videos. For your portfolio, you are required to keep it professional-looking, organized and school-related. To log-on to Weebly, please use your school email and computer password. We will be going through a quick tutorial on how to use Weebly, and what is an appropriate way to use the internet.
Guidelines for your Weebly Portfolio are below:
What do I need for my Weebly Portfolio?
1. A PUBLISHED account with your username being your school email and your password being your computer password. You can change this at the end of the semester.
2. A URL that has been copied and pasted onto the correct class spreadsheet above. This can also be changed at the end of the semester.
3. Your website must be PROFESSIONAL and ORGANIZED. You MUST have each assignment posted as a new page.
4. Each page must contain the following items
i. Your completed work
ii. A write-up reflecting on your process. The write-up needs to be a paragraph (5-8 sentences) and each assignment will have a different requirements that need to be included in the write-up
iii. Proper spelling and grammar.
5. You also need to make sure that your website has a title, and the main page should discuss who you are (without giving your name) and what your goal is for this year in New Media
6. Your website must be appropriate and cannot contain any pictures with you in them!
7. You can include any videos, files, or links that you have found that relate to Photoshop in some way, and are inspiring to you, or any extra pages
8. I will be marking your portfolio based on the information above.
9. You must have all the assignments and write-ups in your Portfolio by the end of first semester.
Spend some time working on creating your websites, making sure that you have everything listed in the assignment. Any tutorials that are completed can also to be added to your website for bonus marks!
Photoshop Review
Before starting your first project, we need to review some of the important points of Photoshop. Please refer to the PHOTOSHOP TIPS AND TRICKS page to refresh your memory, use the document below as review, and then complete the quizzes by clicking on the buttons below.
| Photoshop Review |
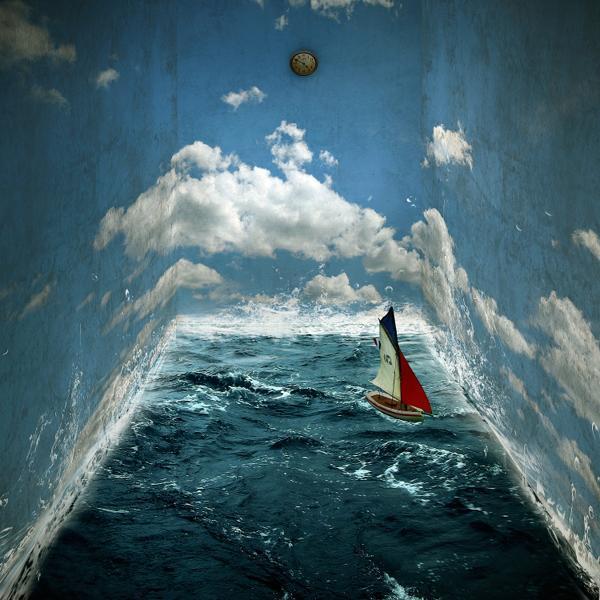
PHOTOSHOP PROJECTS
CLICK ON THE PHOTOS BELOW TO BE DIRECTED TO THE PROJECT INFORMATION PAGE!


Illustrator Projects
Click on the photos below to be directed to the project information page!
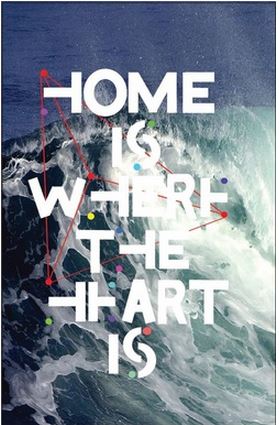
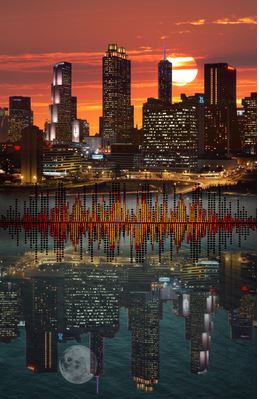
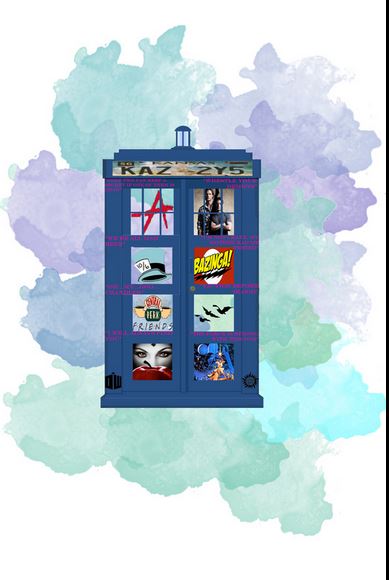
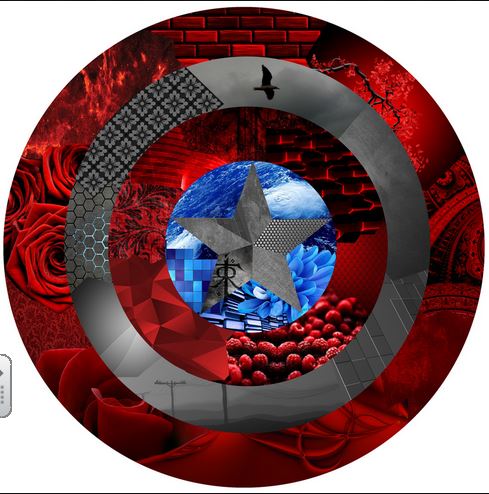
Tutorial Practice - Choose one from the photos below. The range from easy, medium and hard, respectively.

|

|

|

Final Project: T-shirt Design
|
|
Must-Have's:
|
Disclaimer: Your design must be completely original. You can use inspiration from other designs, and can manipulate images from the internet to help you, but the actual development of your design must be from scratch. You can use any Photoshop/Illustrator tools you have learned, and if you aren't sure how to go about doing something just ask!
Step #1: Brainstorming and Research
- Part A: On your Final Project webpage, you will be brainstorming some ideas to help you formulate a plan. To start, research five different designs that you find interesting or inspiring and save them to your name drive. Put them on your website and write one thing that you like about that design. This is just INSPIRATION and not necessarily what you are going to do for your project.
- Part B: Once you are finished looking at other artist's designs, its time to think about your own. Using the text box, write 5 potential ideas for your design. They do not need to be complete sentences, but try to avoid one word answers. If you want it to be colorful, write what colors you are thinking of. You can write about the overall theme, the size of objects, colors, or any accessories you might add like swirls, dots etc.
Step# 2: Time to develop your ideas!
DRAW IT OUT - complete a rough sketch of your design and use labels to help clarify. Sheets will be provided for you.
Step# 3: Work in PHOTOSHOP/ILLUSTRATOR
Please make sure you are aware of the dimensions you will need when working in Photoshop or Illustrator. Largest size available is 11 X 17 ".
DRAW IT OUT - complete a rough sketch of your design and use labels to help clarify. Sheets will be provided for you.
Step# 3: Work in PHOTOSHOP/ILLUSTRATOR
Please make sure you are aware of the dimensions you will need when working in Photoshop or Illustrator. Largest size available is 11 X 17 ".
|
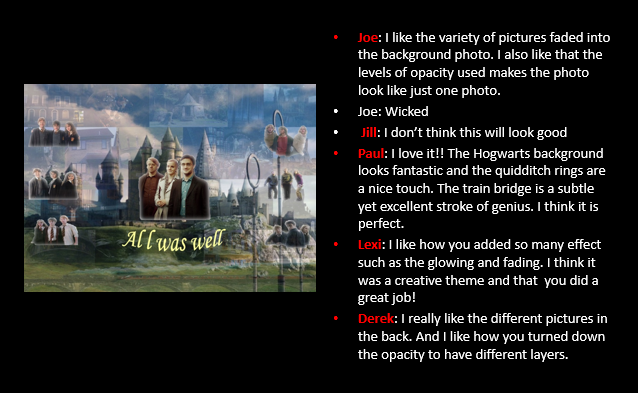
Step #4: Critiques
When you are finished your design, its time to move on to the evaluating phase. Save your work as both a PSD/AI file AND a JPEG file. Add your finished work to your webpage and invite five students to come to your computer and write a critique about your work. This is constructive feedback not negative comments and should be SPECIFIC. Have them use their number or initials so that I know who wrote what. When commenting on another students work, please make sure to give them feedback that will help them improve in the future. Avoid sentences like "I really like it" or "This is cool", but instead use "I really like it because........". BE SPECIFIC serve. |
|
Step # 5: Final Write- up
By now you should know how this works. This is a self-critique, where you are evaluating how you think YOU did. You can talk about the following
In order to print, you need to have all of the design steps completed and your work needs to be uploaded as a JPEG to the folder "Grade Nine Final Projects). Then you will be called up to print!
By now you should know how this works. This is a self-critique, where you are evaluating how you think YOU did. You can talk about the following
- how you used your brainstorming and research information in your design,
- struggles you went through that you had to overcome,
- any tools that you found difficult
- whether or not your design turned out the way you wanted it to
- would you buy this product as it is designed and WHY
- what you think it the most successful about your design
- what you think could be changed or improved on
In order to print, you need to have all of the design steps completed and your work needs to be uploaded as a JPEG to the folder "Grade Nine Final Projects). Then you will be called up to print!